
While some parts of the world appear to be emerging from the testing requirements imposed at the height of the COVID pandemic, entry requirements around the globe are a mixed bag. Some countries don’t require a test to enter if you have proof of vaccination against COVID-19 (such as England). However, many countries (including the US), require a COVID test for everyone entering the country. Locations to get tested are fairly easy to come by in the US, Europe, and heavily tourist destinations. However, if you travel off the beaten path locating a testing site may be difficult. That is where a supervised at-home test can come in handy. The following runs through everything involved in taking an eMed COVID test. Hopefully, this will prepare you or help determine if it’s right for you.
US Testing Requirements

Let’s start off by saying that every country has different requirements. These are the entry requirements for the United States as of the end of February 2022:
- All air travel passengers age two and older must present a negative COVID-19 test result. The test must be taken no more than 1 day prior to the departure of your flight.
- Alternately, travelers can provide proof that they had COVID-19 within the previous 90 days. These travelers must have recovered from COVID-19 and have a letter from a medical professional stating it is safe for them to travel.
- The test must be a viral test (NAAT or antigen test).
- Self-tests can be used when they are authorized by the US Food and Drug Administration. These self-tests must be administered in conjunction with a telehealth service. The telehealth service must confirm identity, observe sample collection, confirm the test result, and issue a formal report.
Why Would You Order an eMed At-Home Test for Travel?
eMed sells an at-home test that includes telehealth administration. This means that as you perform the test on yourself, a healthcare provider (test moderator) is on a video call with you. This allows the healthcare provider to observe the conduct of the test, verify your identity, and issue a formal test report. All of this is critical to being able to use an “at-home test” for reentry to the US.
A self-test or at-home test can provide many benefits to travelers. First, in many parts of the world, arranging for a COVID-19 test within 1 day of departure can be difficult. Second, some countries don’t have the testing infrastructure. Others can’t turn a test around in 1 day. Still, in others, testing is very expensive. Obviously in these situations, bringing along a self-test is a great option.
Even in places where the tests are readily available, taking the test can be difficult and take away from vacation time. Testing requires researching a test facility, getting an appointment, paying for a test in a foreign country, and often waiting. All this takes preparation prior to the trip and takes away valuable vacation time on the last day of your travels.
Ordering an eMed Test
If you decide that an at-home or self-test is right for you, the first step is to procure a test to take with you before departing on your trip. I have experience with eMed and therefore will use it throughout this post. However, there are other companies offering this service. Many of these are similar, so price compare to get the best deal.

eMed sells their kits in a 6-pack for $150.00. While this isn’t the cheapest option that you could find, $150 for 6-tests isn’t bad. Given that it includes monitoring and an official report, this is likely one of the best prices you will find internationally for this quantity of tests. However, it’s not a great price if you only need a couple of tests. What makes this a little better is that all the tests don’t need to be used at once. They can be saved until they are needed. The tests come with a 1-year expiration date from the date of manufacture. As you won’t get the tests right after manufacturing, you should expect the tests to be valid for about 10 months after the order.
Starting the Test

To start a supervised test with eMed, navigate to their website: emed.com. Select the “Start Testing” button. It goes without saying that you will need a device with a webcam, microphone, speaker, and an internet connection. A laptop is the easiest but a tablet or smartphone could do in a pinch.
You will then be prompted to enter your state of residence and agree to a disclosure authorization. These are required so that eMed can disclose the results of the test to your state’s health department. At this point, you will need to sign into a NAVICA Account or create a NAVICA Account if you don’t have one.

The last step before actually starting the test is to complete the pre-test questionnaire. The questionnaire confirms that you have a test, that your hands are washed and sanitized, that you have photo identification, and the reason for your test today. After completing the questionnaire, you can click “Start the Test” which will connect you to the moderator.
Test Setup
At this point, you will be connected to the moderator. The moderator is able to see and hear you. You will only be able to hear the moderator.
The appointment starts by confirming that you have a test kit available. The moderator will ask that you hold up the kit so that the computer is able to scan the barcode on the back of the test. Once this is done, they will move on to confirming the identity of the individual being tested. Almost any type of government-issued photo identification should work for this, but most people will use a passport since they are traveling. Once all these confirmations are complete, you will be prompted to open the test kit box.

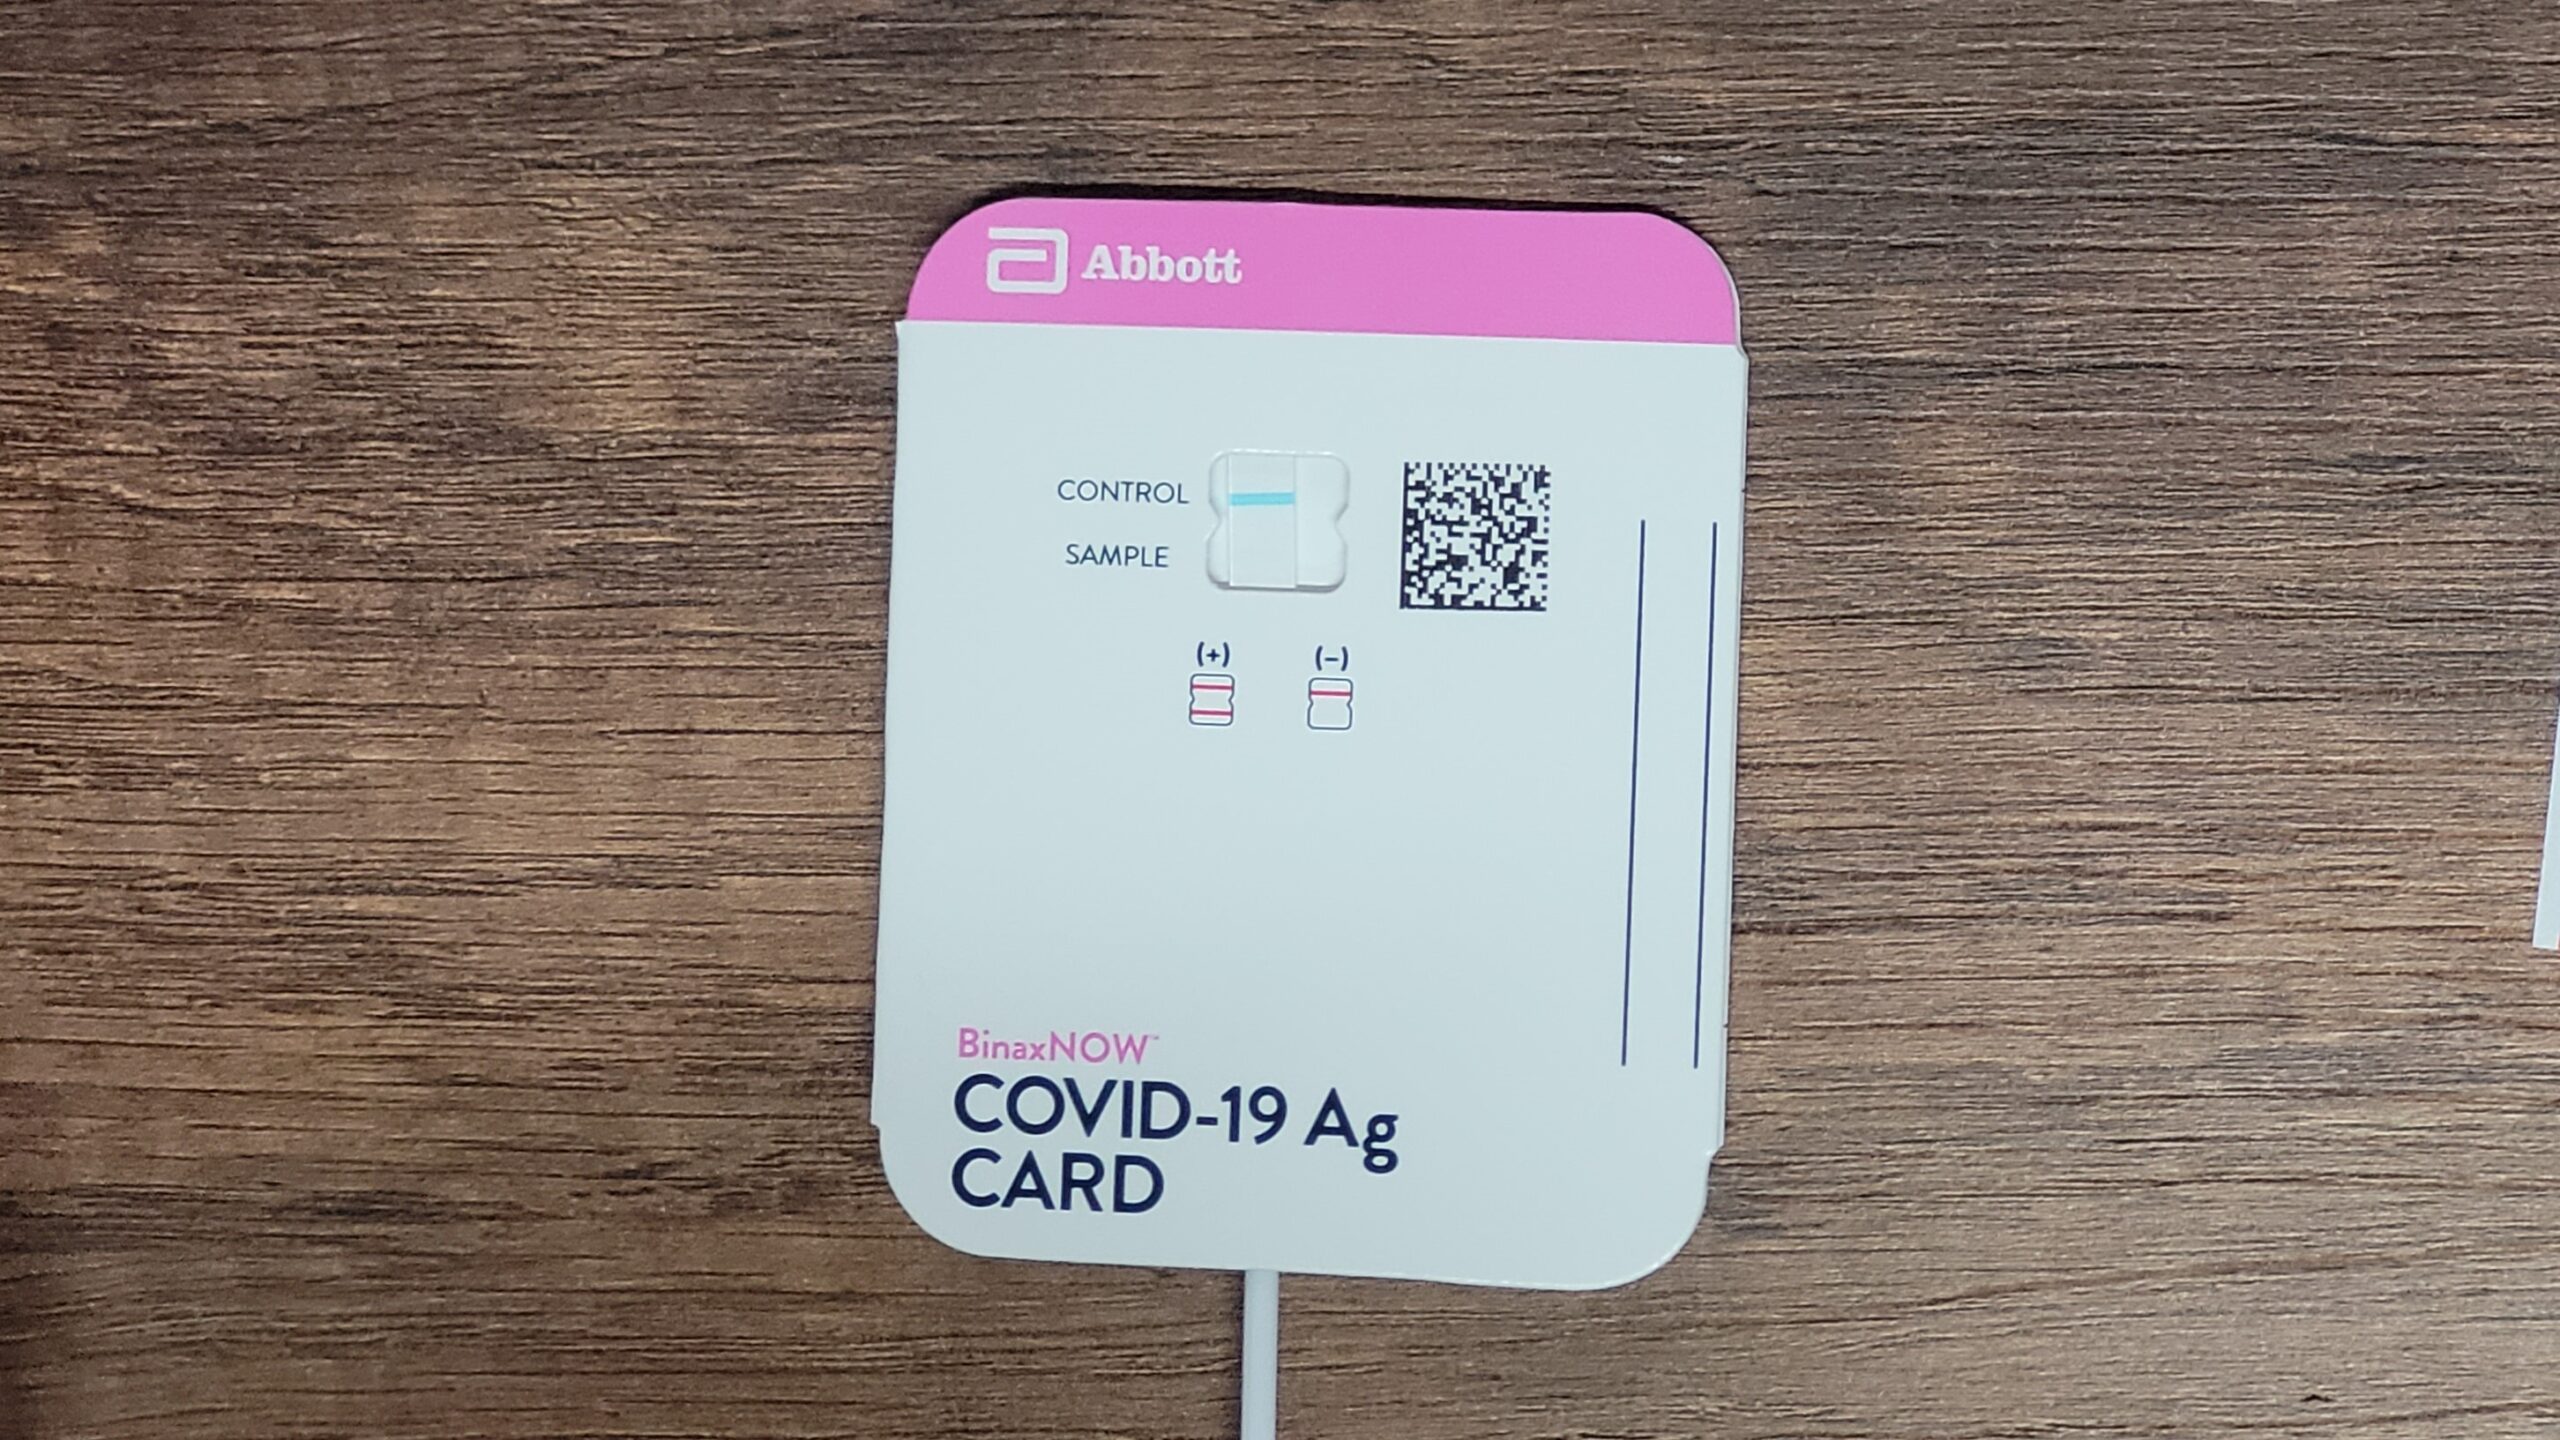
The eMed COVID-19 Self-Test box includes a test swab, a test card, and a test activator liquid. The instructor will talk you through the process of setting up the test. The moderator will generally request that the camera on whatever device you are using be pointed down towards the flat surface on which the test card is open. With them observing, they will ask that you open the test card and add 6 drops of the test activator liquid to the top hole located on the right-hand side of the test card. Then, they will request that the test swab be removed from its sealed packaging.

Collect Your Test Sample
With the camera reoriented on the tester, the moderator will observe as you use the test swab to collect a sample from your nose. The eMed self-test doesn’t require going to the brain-tickling depth that most COVID tests require. It is sufficient to have the cotton portion of the test swab completely in the nasal cavity. They will request that you move circularly around each nostril 5 times to ensure a sufficient sample is obtained.

After collecting the sample, the moderator will ask that the camera be pointed back down at the test card. You will then place the test swab into the test card and activator liquid. This is accomplished by placing the swab into the bottom hole on the test card and pushing it in so that the top of the swab barely pokes out the top hole. The final step before waiting for the result is to pull the backing of the adhesive strip on the card and fold the card closed.

15 Minute Wait
At this point, you will need to wait 15 minutes for the test result. The moderator will instruct you that the camera needs to remain pointed at the card during the whole wait period. This is done to ensure that the sample or the test is not tampered with. However, you are free to get up and do anything else during the 15 minutes. Just return to your test and device when the 15-minute timer expires. If you are watching the test during this period, you will notice that the test strip visible in the test card window will become saturated with the test activator liquid. That window is where the result of the test will later be read. A single line visible in the window indicates a negative test result. A positive test result is indicated by two visible lines.

At the conclusion of the 15-minute wait, you will be prompted to click a button on the website stating that you are ready to return to the testing. At this point, you will be reconnected with a moderator (although it will likely be a different moderator). They will ask you to hold up the test card to the camera so they can see the test result. They will also ask you to confirm if you see a single or double line. At this point, the test is over. The moderator will read the standard disclosures and end the call.
Reporting

Within a couple of minutes, an email will arrive from eMed with the test result. This is a printable and formal test report containing all the information you need to satisfy the US COVID-19 travel test requirements.
Review
All in all, the eMed test is really easy to use. There is the convenience of not having to wait for a test and being able to set it up and take it in about 20 minutes any time of day. The test can be done in the privacy of your own hotel room which is another plus. The moderation is very efficient as well so it’s easily done during any downtime meaning it doesn’t take away time from your vacation. At $25/test, the cost isn’t bad. However, if you only need two, the cost is prohibitive. My experience using it was very positive, and I wouldn’t hesitate to reuse it again in the future as long as a negative test is required for international travel.